
5 Tips for Home Tube Feeding
The tube feeding lifestyle is both rewarding and challenging. Seeing your little one’s health improve over time is rewarding, but also challenging due to keeping up with feeding schedules and supplies. Transitioning from the hospital into your home is the first step in entering this new lifestyle. Administering tube-feeds to your child at home will become a part of your daily routine and get easier with time. Set yourself up for a successful home tube feeding by following these 5 tips:
1. HYGIENE PROTOCOLS
When preparing to administer at home, it is vital that both you and your child follow proper hygiene and cleanliness protocol to limit the risk of infections. Infection control is a priority when it comes to home tube feeding. Basic cleanliness protocols include:
Wash your hands with soap and water
Clean and dry the stoma site
Clean the equipment properly
For more information on how to manage G-tube infection control, click HERE.
2. FORMULA
Store unopened formula in a room temperature environment or as recommended by the manufacturer label or your healthcare provider/nurse. Once formula has been opened, it is at risk for bacterial contamination and should be stored properly in an airtight container and placed in the refrigerator for up to 24 hours.
Make sure you check the formula’s expiration dates and ask your nurse how long your specified formula can remain in the feeding bag.
3. ADMINISTRATION
Try to not lay flat when tube feeding. Make sure your Tubie is at a 30-to-90-degree angle when administering a feeding. Your child should remain in an upright position for 30 to 60 minutes afterward to prevent any issues. This will help the formula properly settle within the stomach and decrease the risk of aspiration.
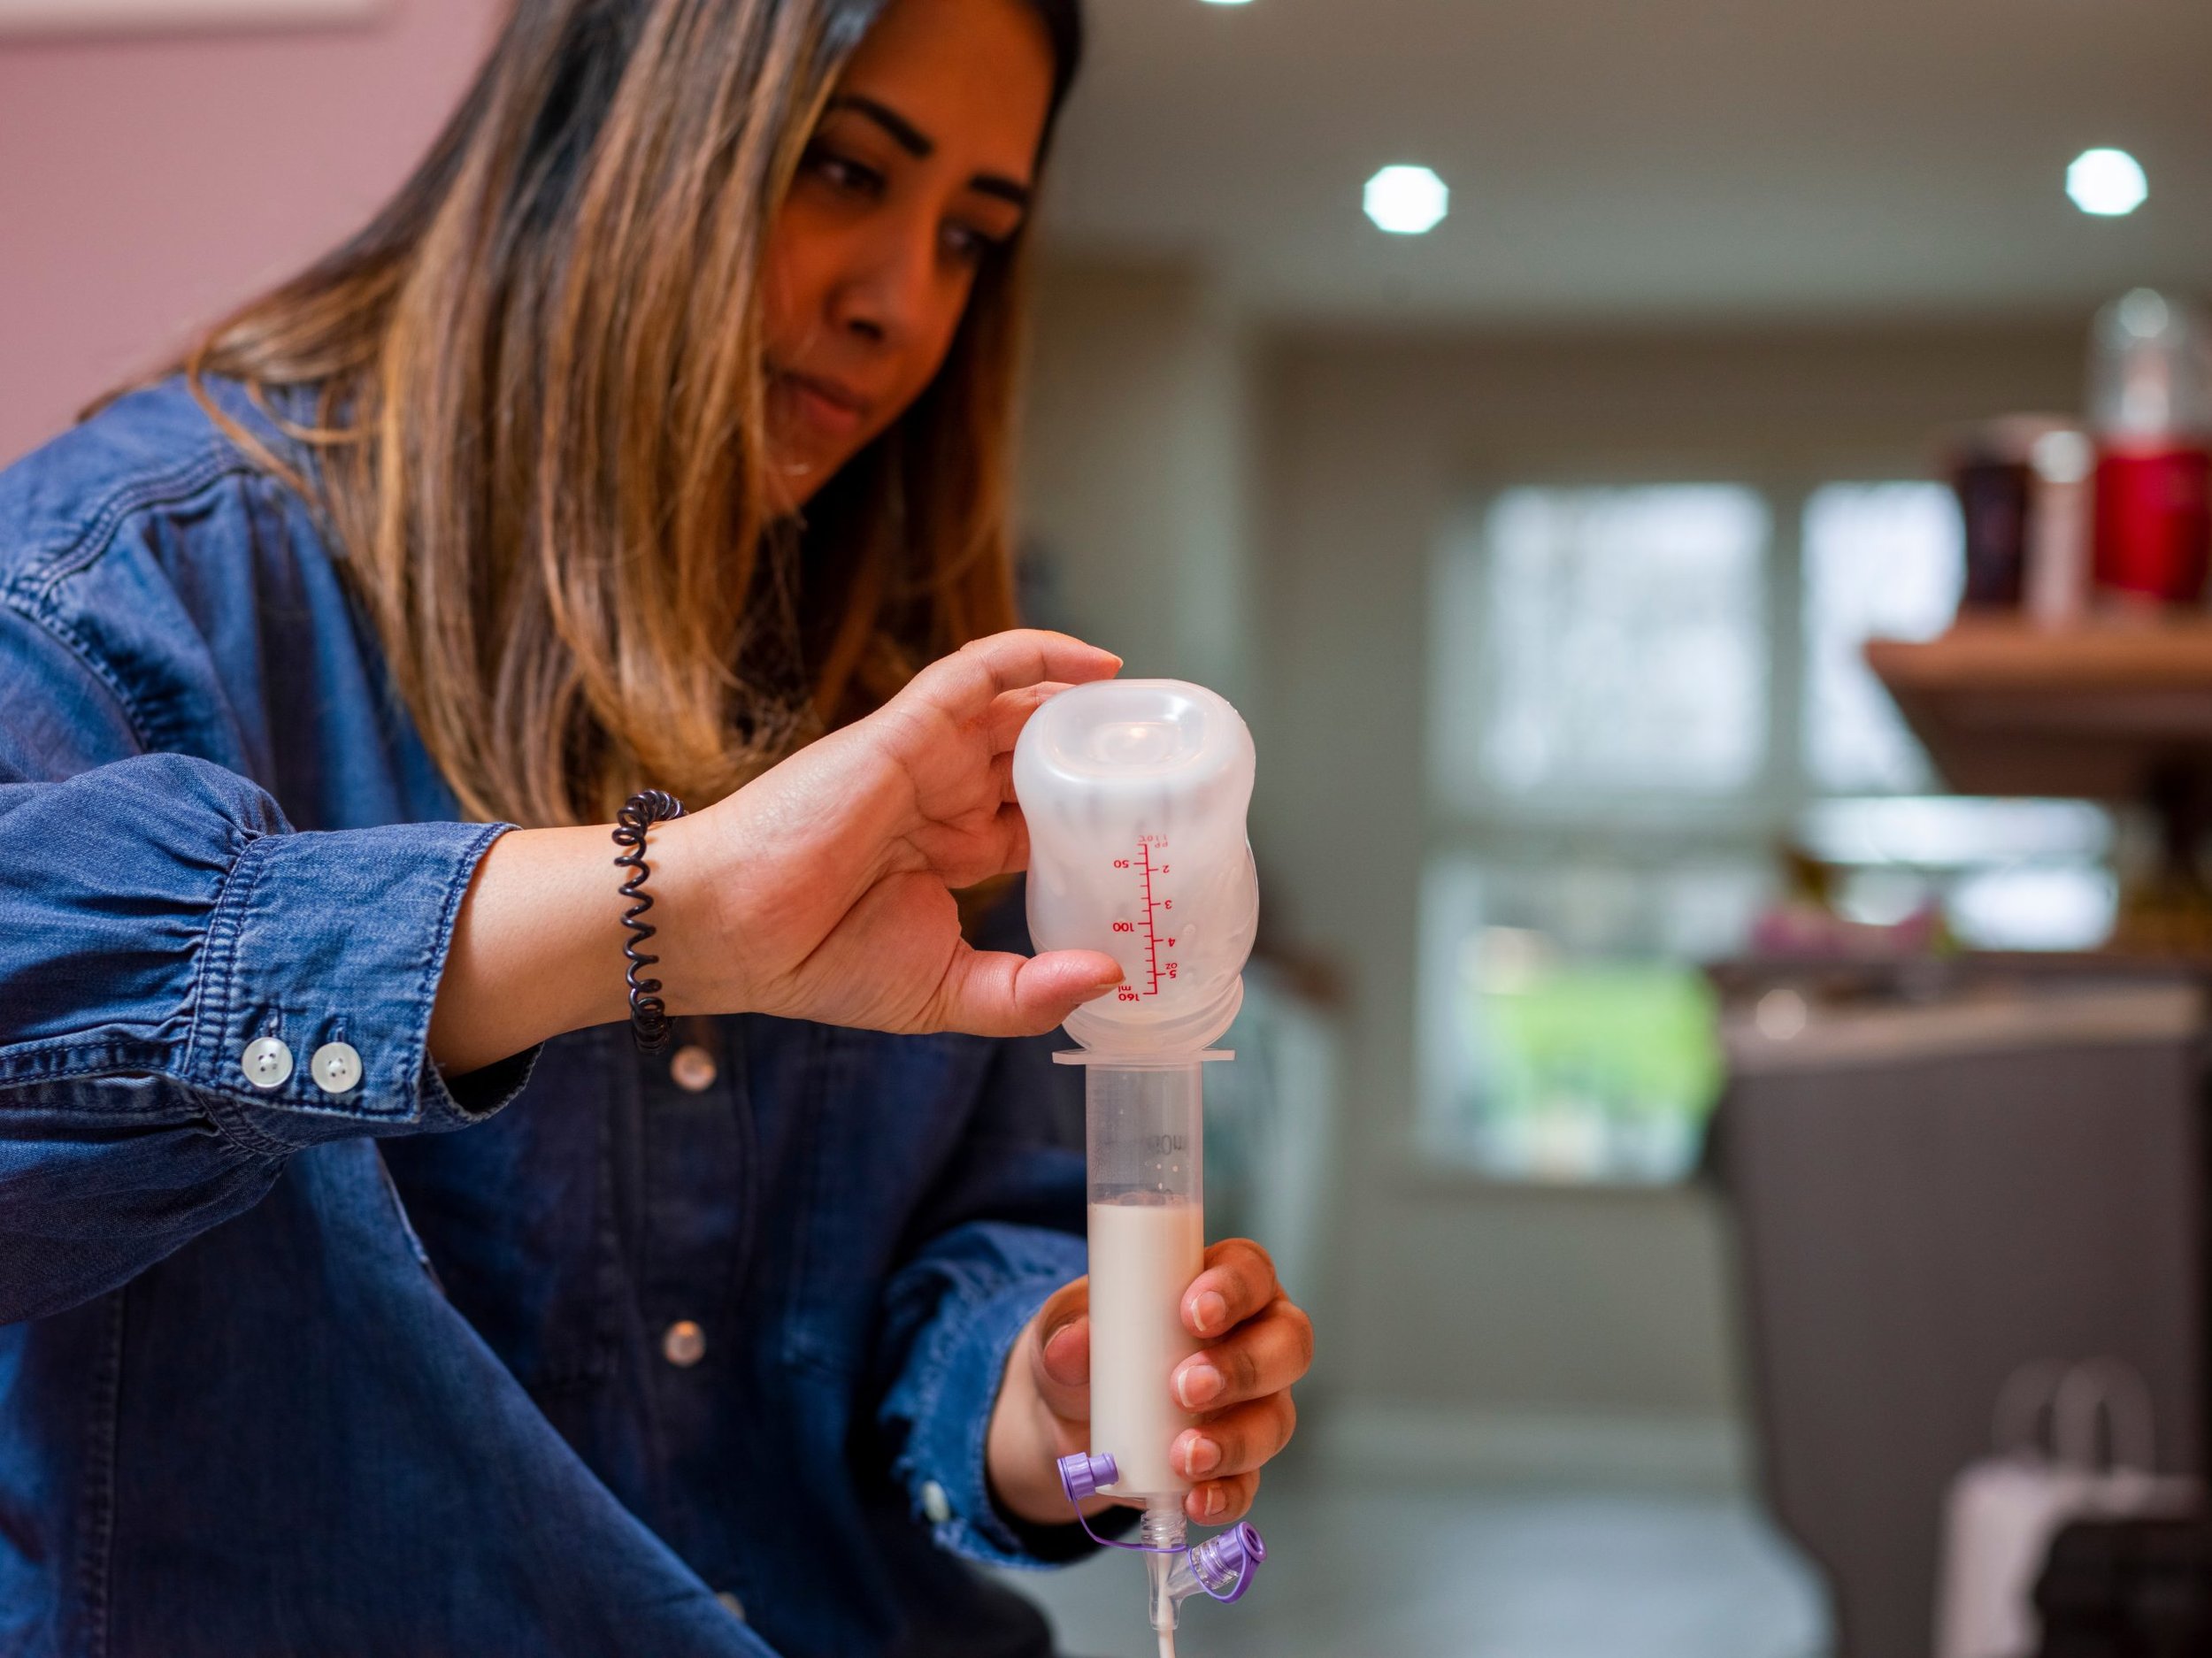
The 3 common ways to administer a feed are via pump, syringe/bolus, and gravity. Talk to your doctor to determine the best type of administration for your child. Below are measurements with conversions that may help when preparing for home tube feeding. (1 ml = 1 cc)

30 ml = 1 oz = 1/8 cup
60 ml = 2 oz = 1/4 cup
120 ml = 4 oz = 1/2 cup
240 ml = 8 oz = 1 cup
4. FEEDING PUMPS & SYRINGES
After administration of home tube feeding, flush the tube with water to keep it clean. Make sure you do not insert anything other than recommended formula or clean water through the tube unless your nurse has instructed you to do so.
To limit any complications and decrease the risk of infection, use a new feeding pump set every 24 hours and a new syringe for water flushed and medications every 7 days. For continuous home tube feedings, flush your feeding tube with warm water at least every 4-6 hours during continuous feedings the feed.
5. WHAT TO TRACK
While entering the world of tube feeding and adjusting to a new lifestyle, it is important to keep track of various factors of the home tube feeding process. This will not only help your transition go more smoothly but can also help you and your Tubie create a routine that works for everyone’s schedule.
Some of these factors are below:
Weight of your child
Time of each home tube feed
Amount of each home tube feed
Any intolerances or aspirations
Any symptoms such as nausea, vomiting, heartburn, reflux, diarrhea, or bloating
Signs or Symptoms of Infection
Date of when formula was opened/ used
If you believe any information you are tracking is alarming, do not hesitate to contact your healthcare provider.